How to Draw a Diya in Five Easy Steps
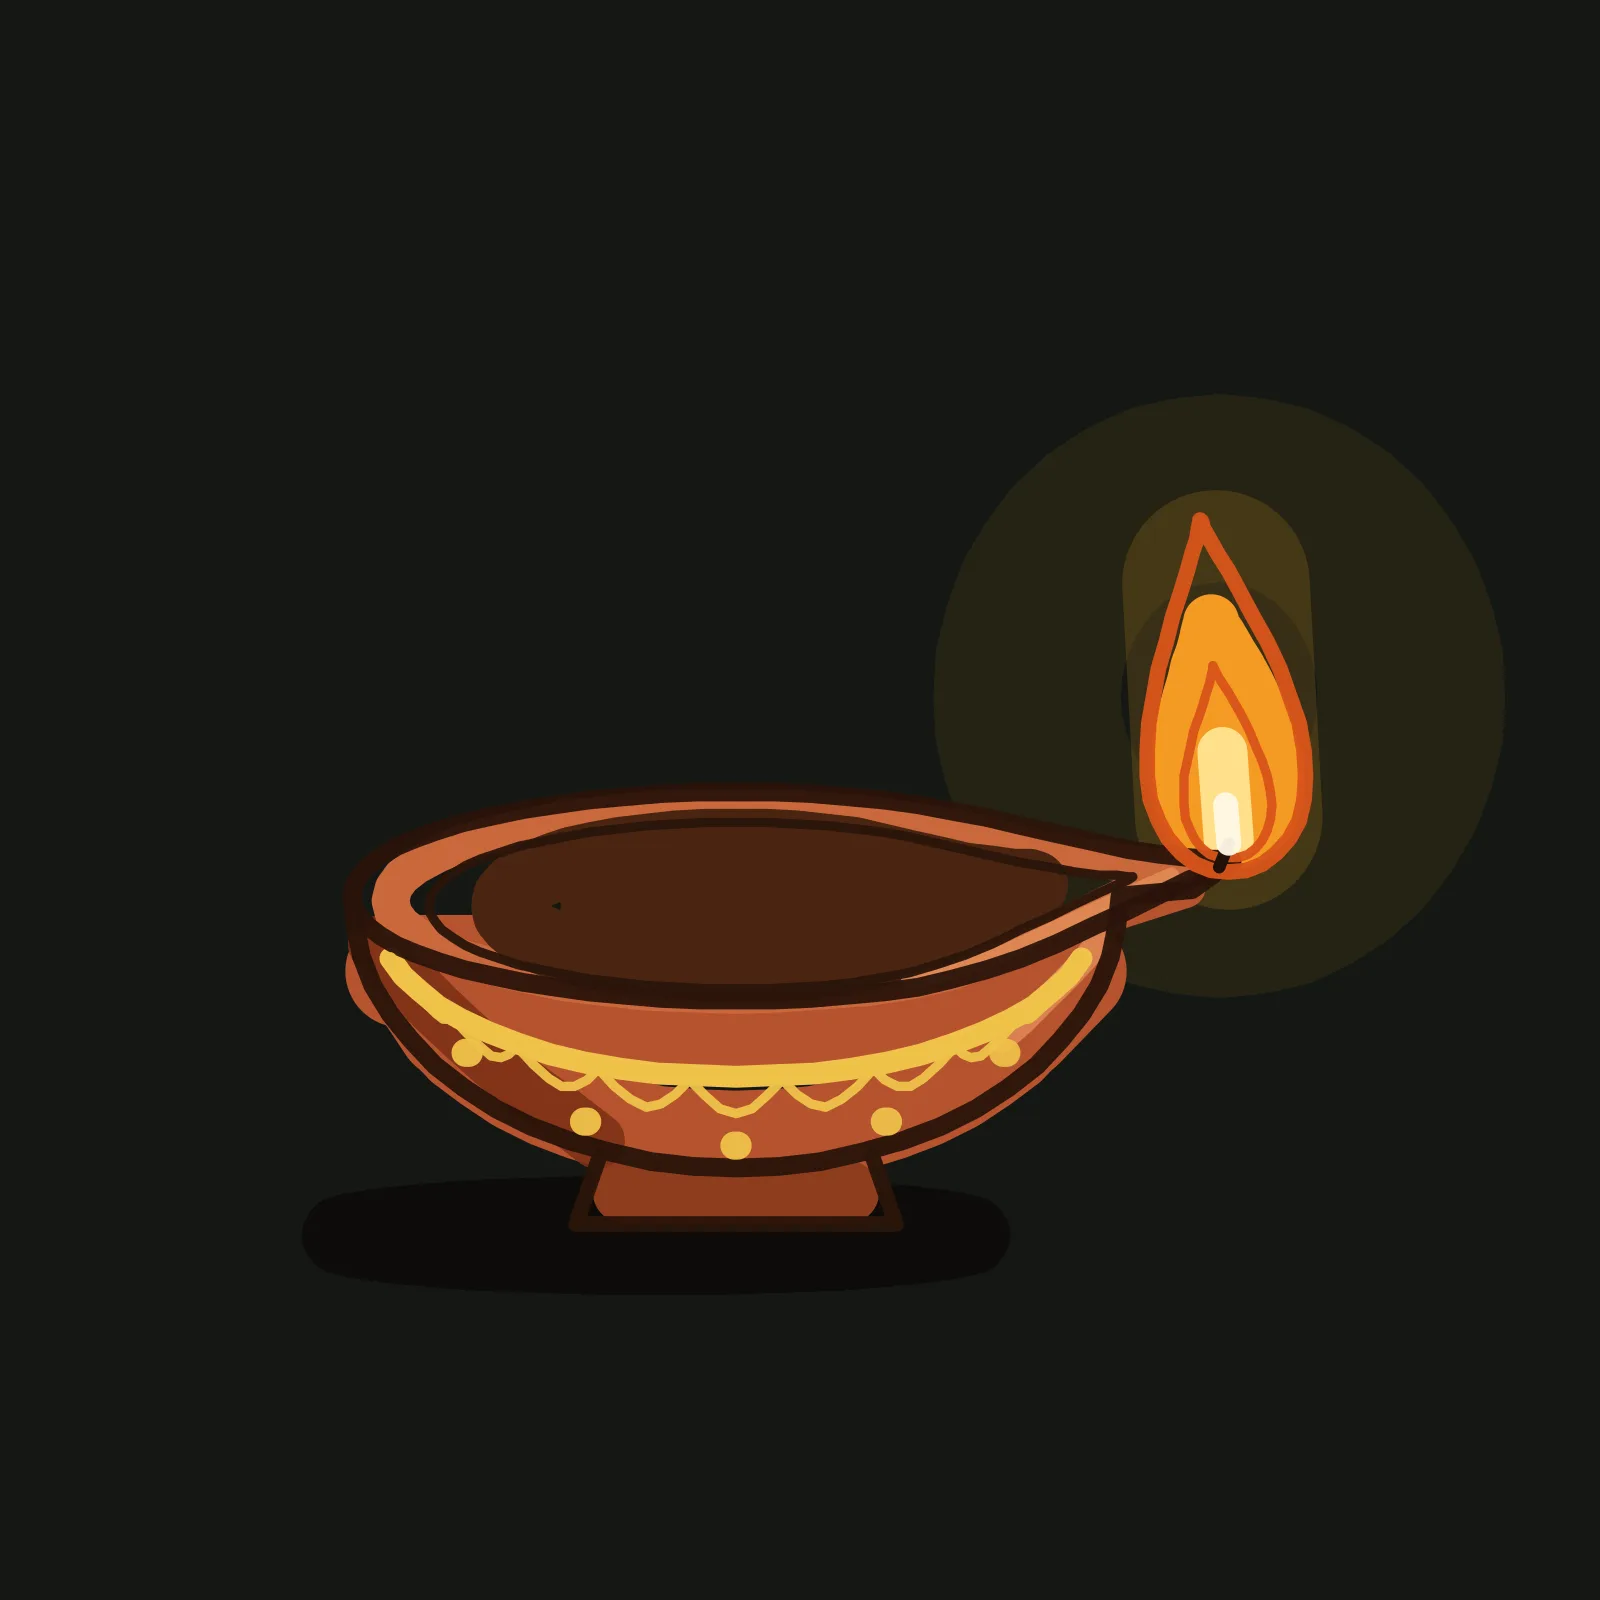
A diya is the small clay oil lamp lit in rows for Diwali, and it makes a lovely first drawing because it is only three shapes: an oval, a bowl and a teardrop. What makes it read as a lamp and not a dish is one idea: the rim is pinched into a point on one side, and the flame stands on that point. Draw the pinch and the teardrop and it says diya before any colour goes down.
What you need
Everything happens in the Grovetracks editor on the default dark canvas: the ellipse tool for the rim and the flame circle, the line tool for guides and the foot, the freehand brush for the outline and colour, and layers. Draw the first three steps on the layer the editor starts you on: that is your sketch layer. In step 4 you add a new layer for the finished drawing, then delete the sketch layer whole instead of erasing it, so no guide takes a bite out of a line you are keeping. Every colour is in the table below, with the hex code to type into the colour picker.
| Colour | Hex | Step | Used for | |
|---|---|---|---|---|
| Grey blue pencil | #93A6BC |
1, 2 | Shapes and guides (sketch layer) | |
| Warm cream | #F2E3C6 |
3 | First outline (sketch layer) | |
| Terracotta | #B5532E |
4 | Bowl fill | |
| Darker red brown | #8E3D1E |
4 | Foot | |
| Light clay | #C9683C |
4 | Rim ring | |
| Very dark brown | #4A2410 |
4 | Oil inside the rim | |
| Gold | #F0C24A |
4 | Band and pattern lines | |
| Orange | #F59A23 |
4 | Flame fill | |
| Pale yellow | #FFE08A |
4 | Middle of the flame | |
| Dark brown | #2A140A |
4 | Lamp outline | |
| Deep orange | #D9541A |
4 | Flame outline | |
| Near black | #1A0E08 |
4 | Short line at the spout | |
| Glow orange | #F5A623 |
5 | Glow, about 8% and 16% opacity | |
| Shadow black | #0C0705 |
5 | Ground shadow | |
| Dark red brown | #7A3016 |
5 | Bowl shadow, left side | |
| Pale clay | #E08A55 |
5 | Highlights on the right and the rim | |
| White | #FFF8E6 |
5 | Hot core of the flame |
Step 1: Draw an oval and a bowl
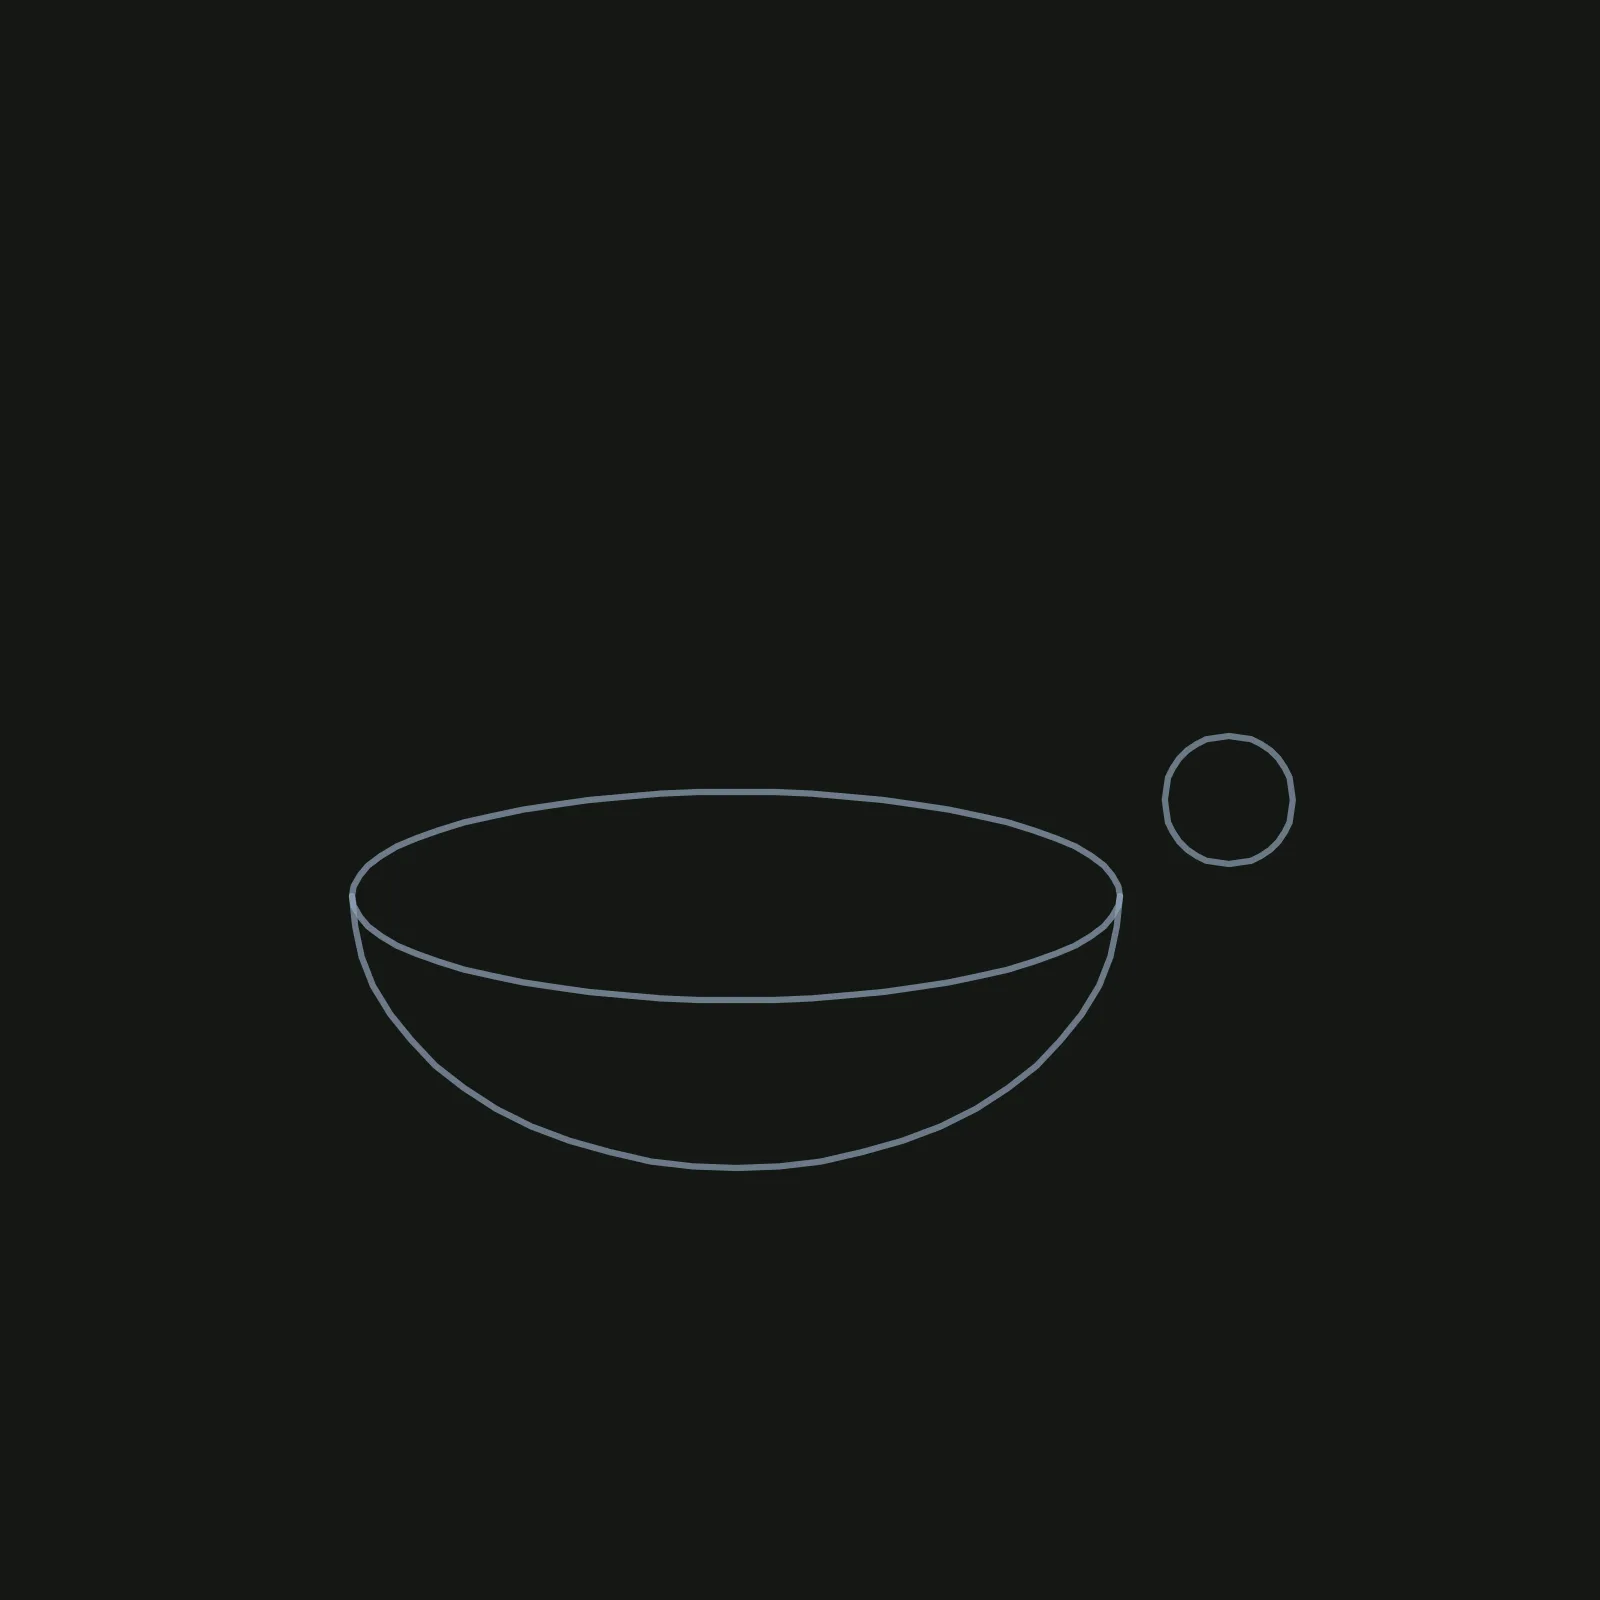
With the ellipse tool and a thin brush (width 2), draw a wide, flat oval a little left of the middle of the canvas, about half the canvas wide and only about a quarter as tall as it is wide. That is the rim. Under it, draw a curve from one end of the oval round to the other, dipping about as deep as the oval is tall plus a little more: the bowl. Last, draw a small circle just off the right end of the oval for the flame.
The common mistake is a rim that is too round. Keep the oval flat, as if you are looking at the lamp from just above the table.
Step 2: Add the spout and the flame line
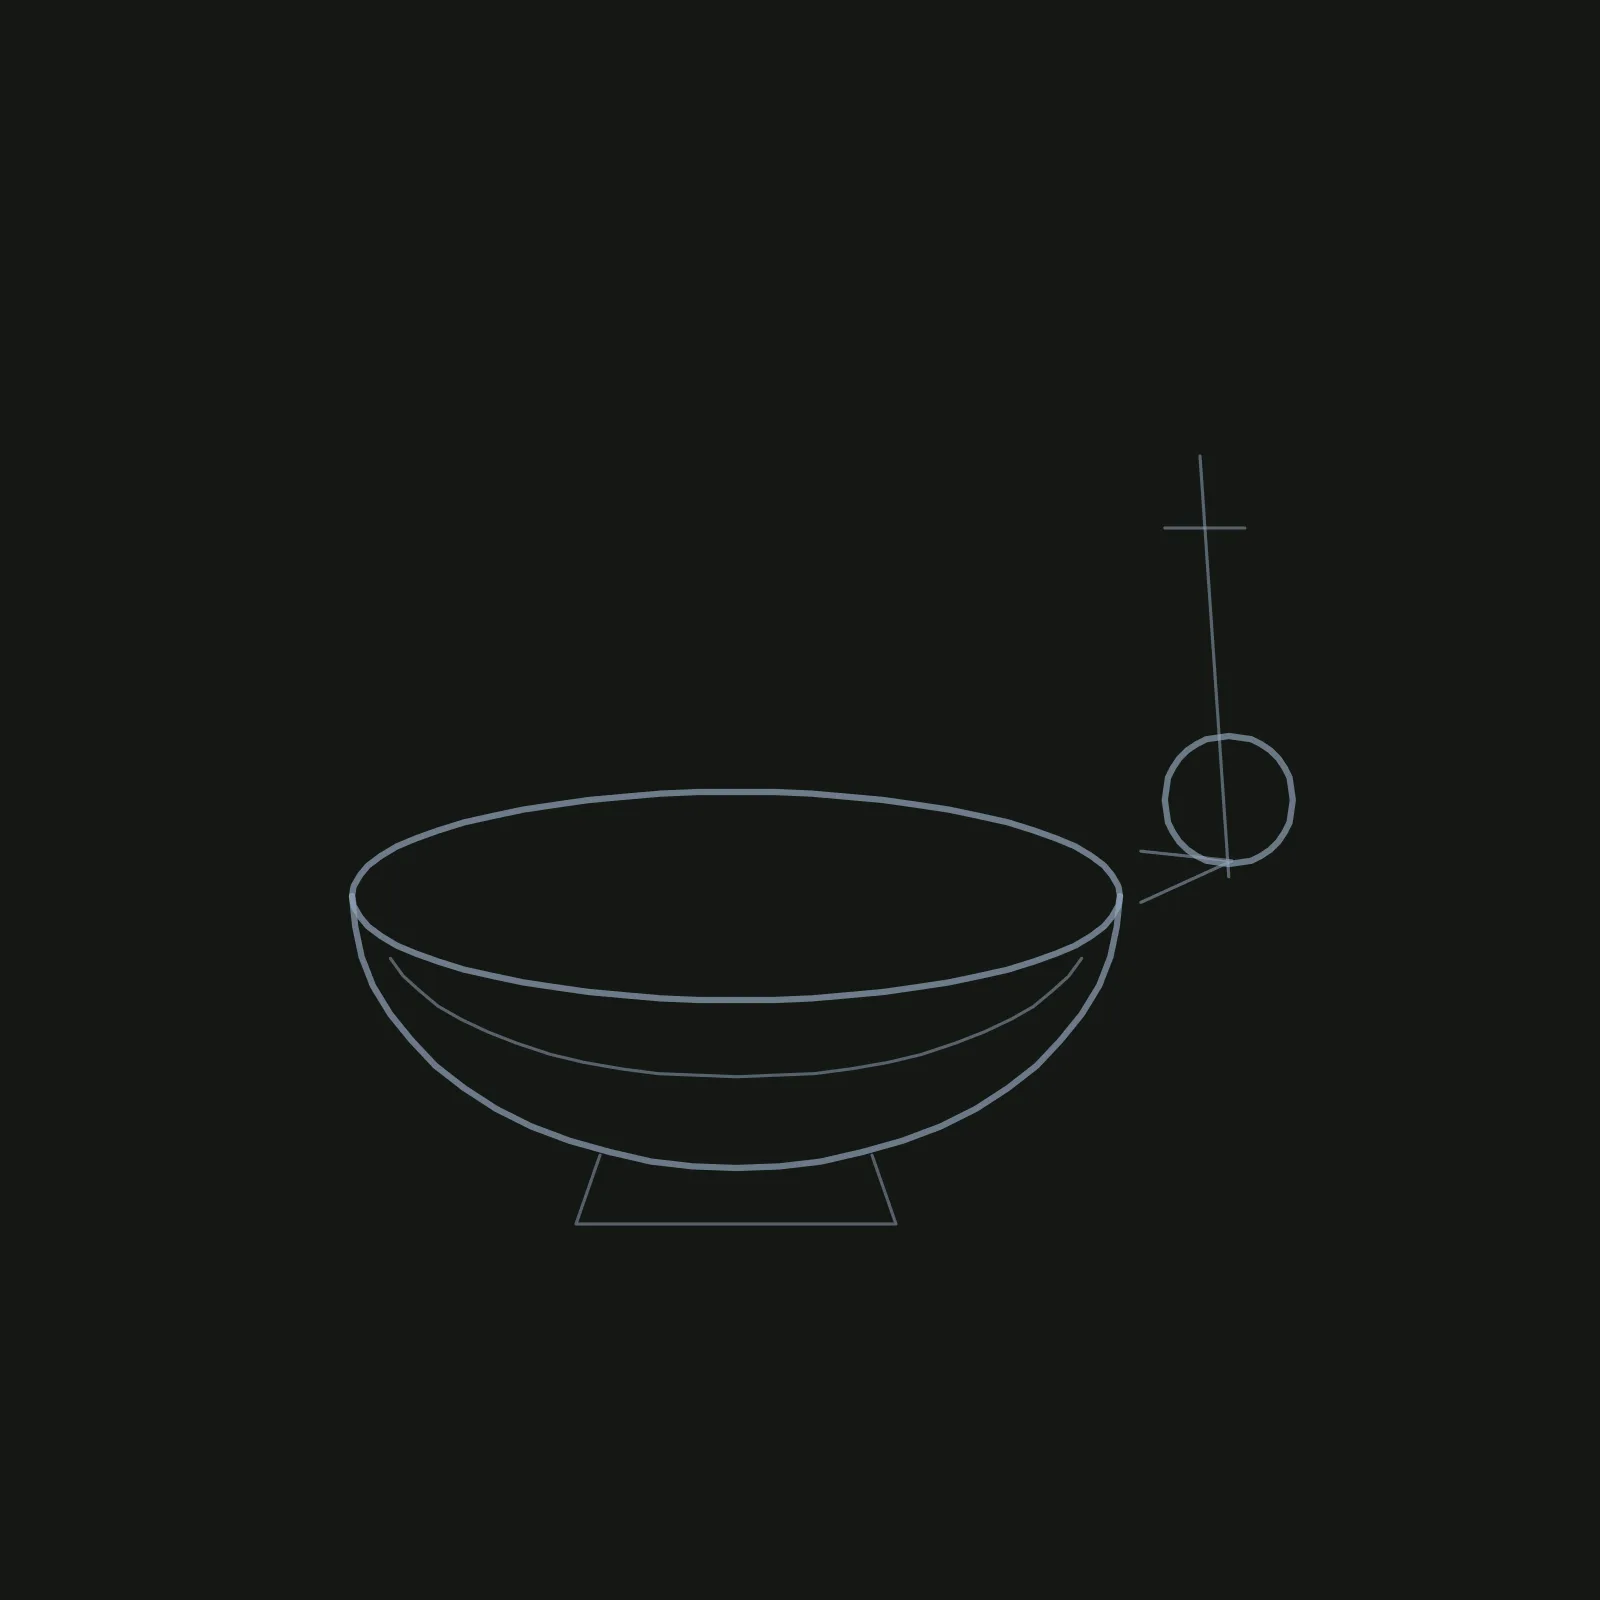
Switch to width 1. From the top and bottom of the rim's right end, draw two short lines that meet in a point just under the flame circle: that is the spout. From the point, draw a line straight up through the circle, leaning a little to the left, and add a short tick where the flame will end, about the height of the bowl above the rim. Draw one curved band across the bowl, following the curve of the rim, about a third of the way down. Finish with a small trapezoid under the bowl for the foot.
The mistake here is a fat spout. Keep the V narrow, so the rim ends in a clear point.
Step 3: Find the outline
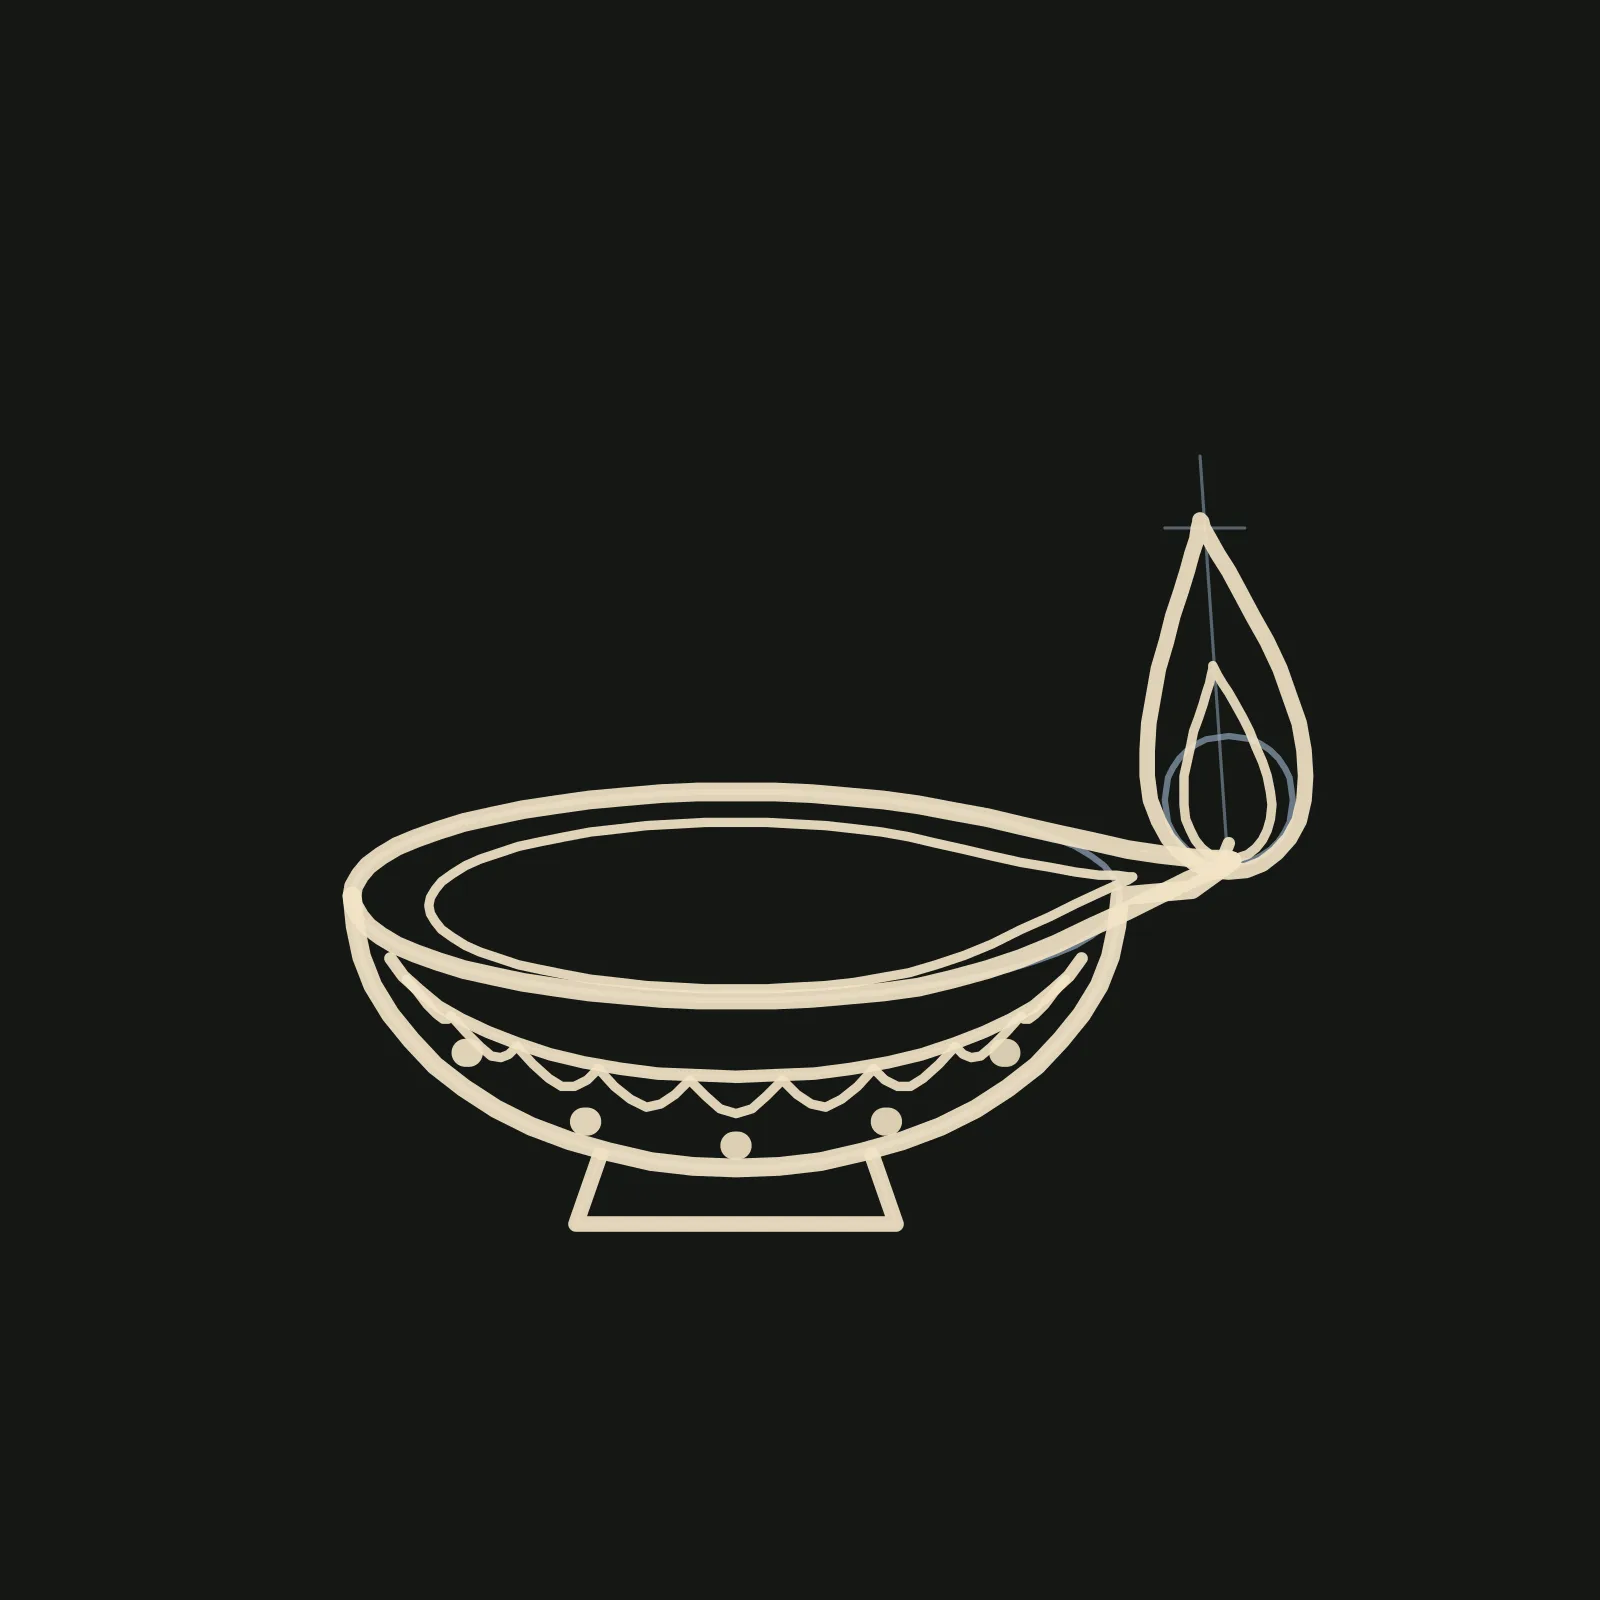
With the brush in warm cream at width 6, trace the rim in one line: round the oval and out along the V into the point, then back. Trace the bowl at width 6, letting its right end run up under the spout, and the foot at width 5. Draw a thinner inner rim line at width 3, just inside the first, for the thickness of the clay.
At width 4, trace the band, then hang a row of little scallops under it at width 3 and tap five dots below those. Now the flame: a teardrop at width 5, round at the bottom where it sits on the spout and drawn up to a point at the tick, with a smaller teardrop inside it at width 3, and a short line for the wick.
The one mistake to watch: the flame's round end goes at the bottom. Draw it point down and it turns into a drop of water.
Step 4: Add flat colour
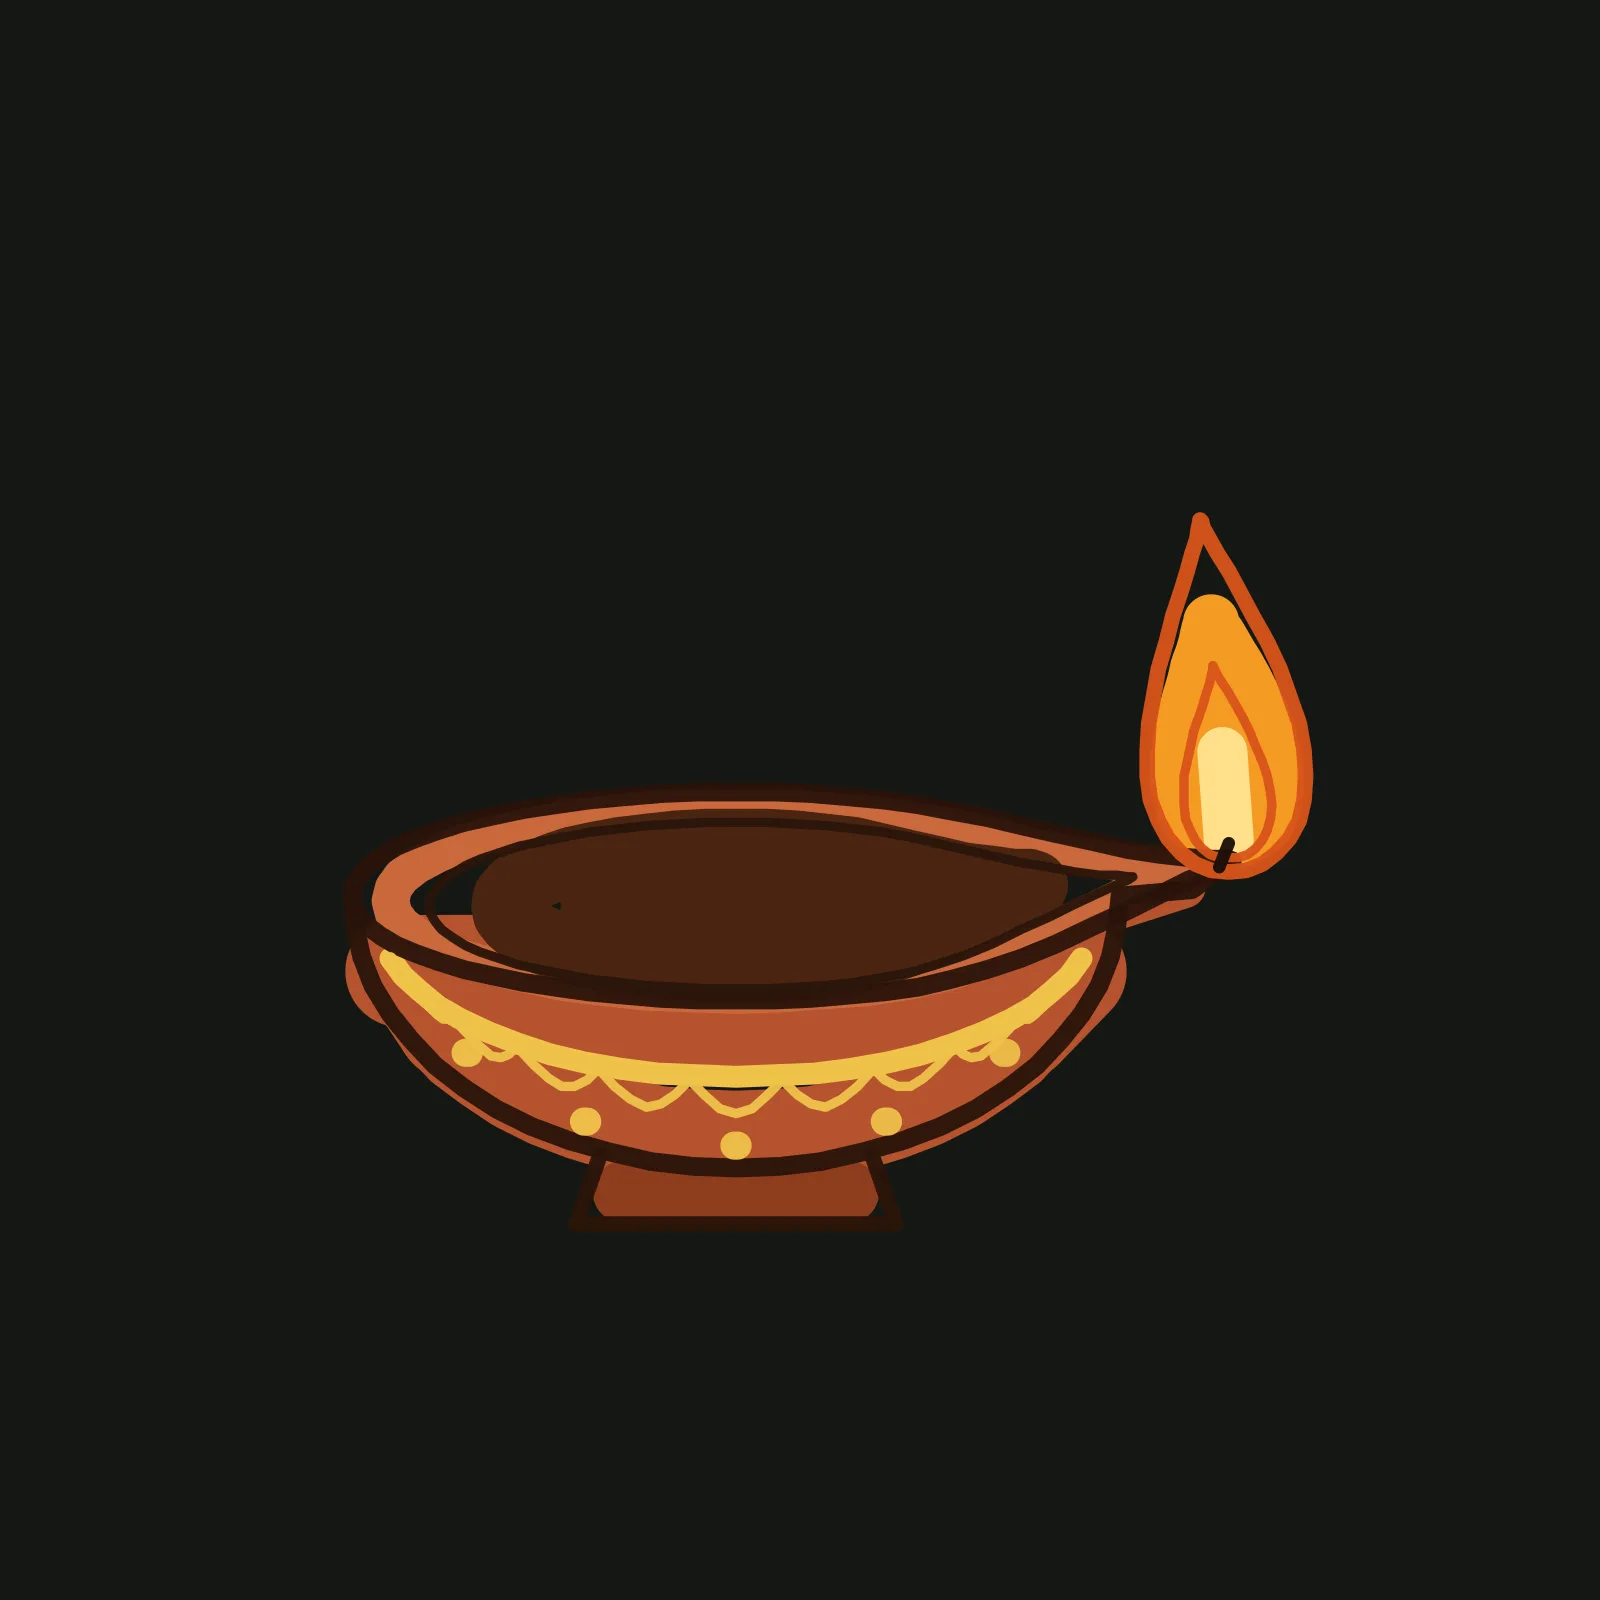
Open Layers and tap + Layer. The new layer sits above your sketch, and everything from here on goes on it. There is no fill bucket, so colour goes on like a marker. Run terracotta at width 30 along the inside of the bowl curve, then zigzag across the middle at about width 36. Fill the foot with darker red brown, run a lighter clay ring round the rim at width 12, and fill the inside of the rim with very dark brown for the oil. Paint the band gold at width 7.
For the flame, run orange round just inside its outline at width 18, add one wide orange stroke up the middle, then pale yellow low in the middle. Finally, redraw the lamp outline in dark brown on top, the pattern in gold, and the flame outline in deep orange.
When the new lines are down, delete the sketch: in Layers, tap the delete button on Drawing 1, the bottom layer, and confirm. The pencil guides and the first cream outline go in one tap, and nothing on your new layer is touched. That is why the guides live on their own layer: the eraser would nick every line a guide crosses.
The mistake here is colouring right up to the outline with a wide brush. Keep the broad strokes a little inside the curve and let the outline cover the edge.
Step 5: Add one shadow and one highlight
Here the light is in the picture: it is the flame. Add a layer and tap Move down until it is at the bottom. On it, draw a big ring in orange at width 60 and very low opacity (about 8%) around the flame, then one short wide stroke up the flame at about 16%, for the glow. Draw a flat dark oval under the foot for the ground shadow. Then tap your colour layer again and, on the bowl, add a darker red brown stroke down the left side, away from the flame, and a light clay stroke down the right side and along the front of the rim, toward it. Last, add a small white stroke at the base of the flame.
Do not skip the white core. That one small stroke is what makes the flame look hot.
Draw it yourself
Open the editor on grovetracks.com and light a diya of your own: a row of three, a different pattern on the band, or a flame that leans in the breeze. For a head start, open any step's gallery page above and branch it to pick up from exactly that stage. Every step shows its lineage back to the first oval, and the finished lamp's Made from section walks the whole tutorial.
Trace the finished diya back to its roots, every step linked in one view: the diya's lineage.
If you enjoyed this one, the same marker style colouring works on How to Draw an Owl, and How to Draw Light in Line Art goes further into drawing a glow.