How to Draw a Mushroom in Five Easy Steps
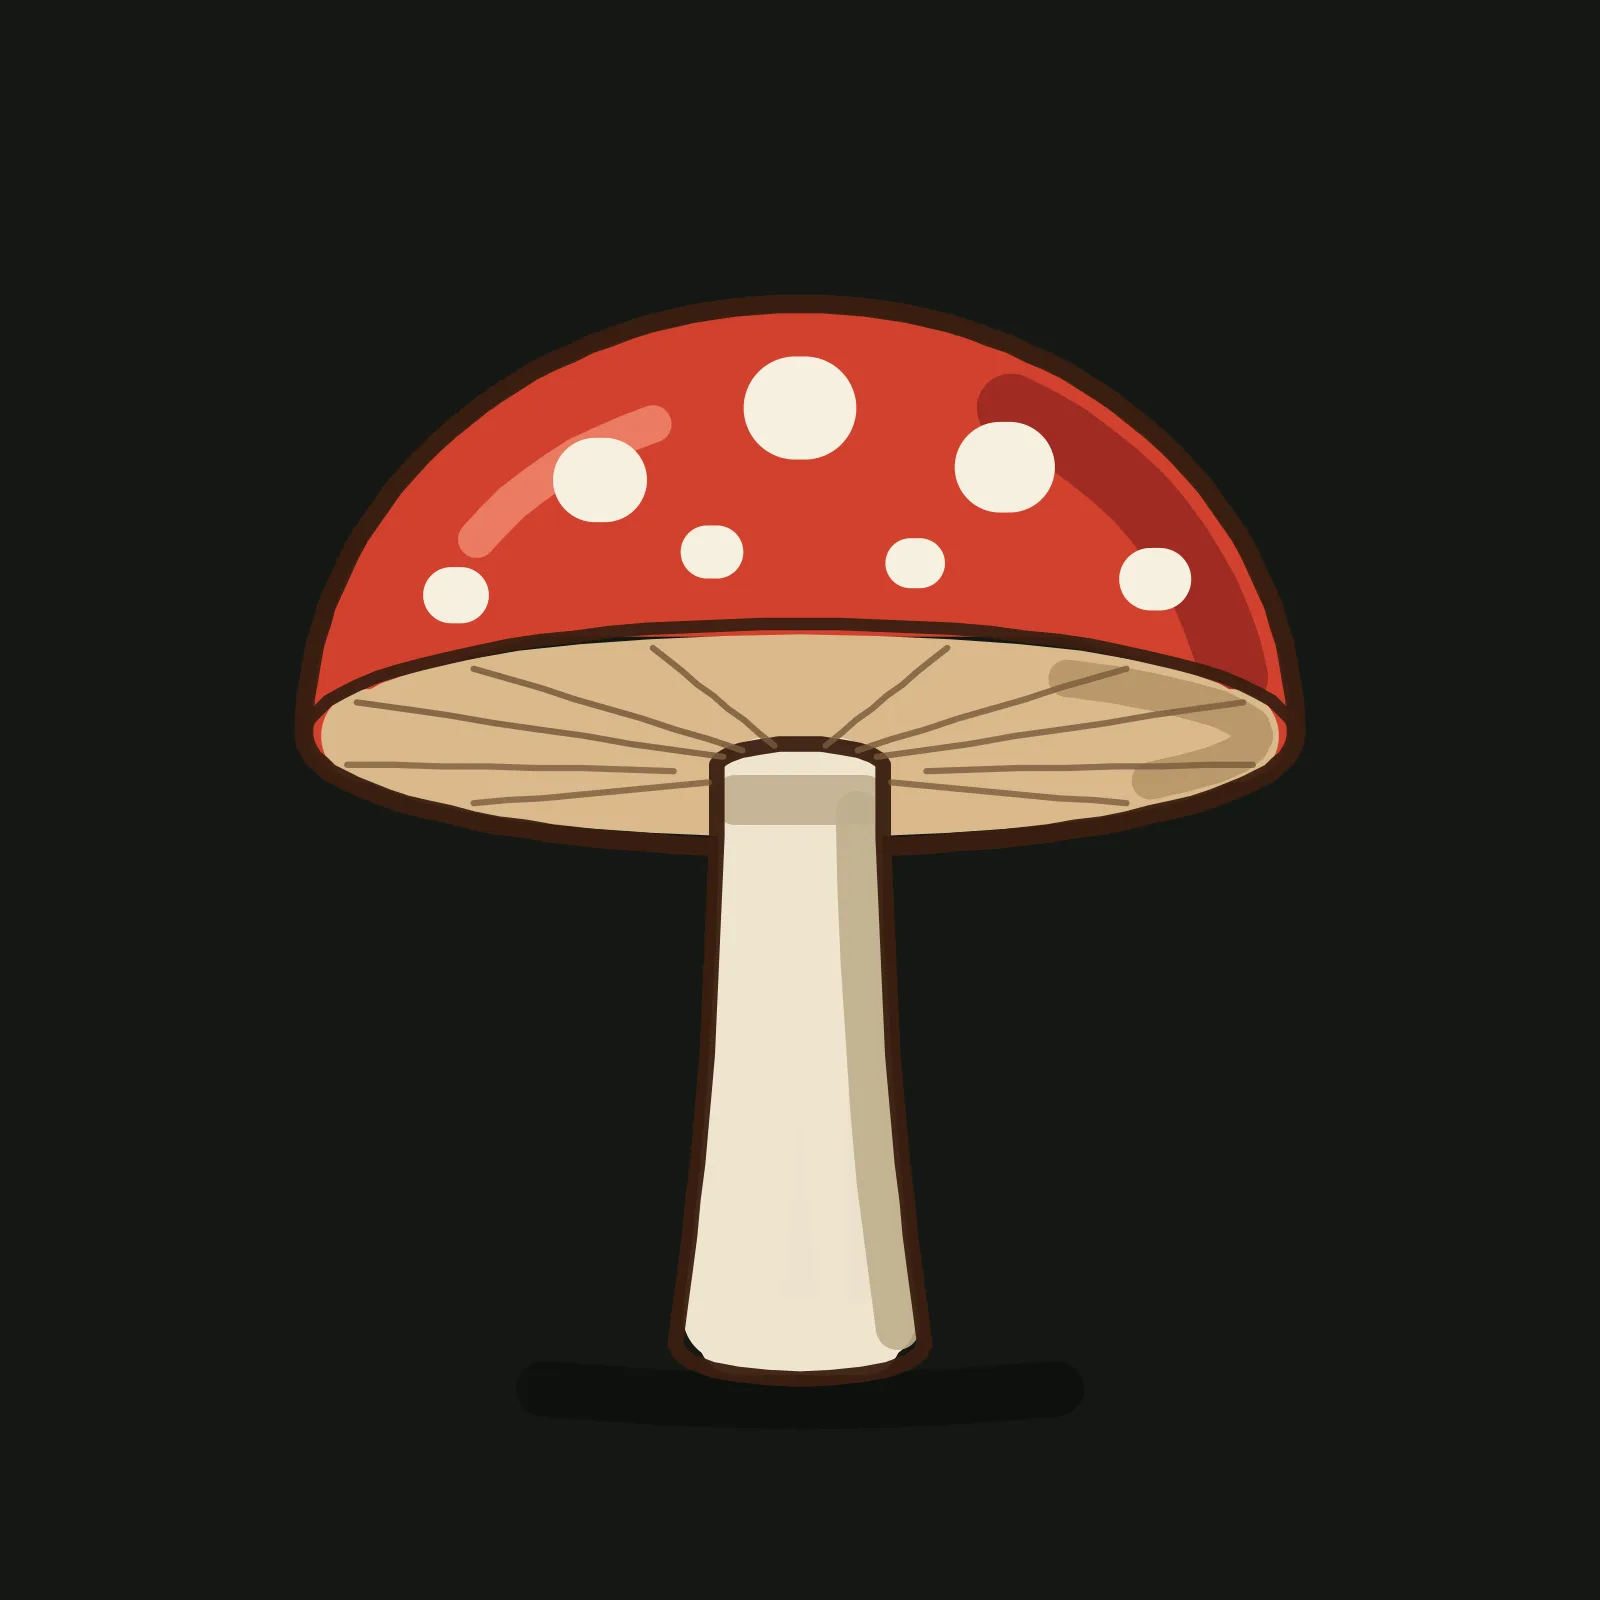
A red toadstool with white spots is one of the easiest things in the woods to draw, and one of the most cheerful to finish. It is built from a dome, an oval and a post. What makes it read as a mushroom and not an umbrella is one idea: the cap is a dome sitting on a flat oval, and you see a little of its underside. Show that thin band of gills with the stem hanging in front of it, and your outline says mushroom before any colour goes down.
What you need
Everything here happens in the Grovetracks editor on the default dark canvas. You will use the ellipse tool and the freehand brush for the shapes and outline, the brush for colour, and layers. Draw the first three steps on the layer the editor starts you on: that is your sketch layer. In step 4 you add a new layer for the finished drawing, then delete the sketch layer whole instead of erasing it, so no guide takes a bite out of a line you are keeping. Every colour is in the table below, with the hex code to type into the colour picker.
| Colour | Hex | Step | Used for | |
|---|---|---|---|---|
| Grey blue pencil | #93A6BC |
1, 2 | Shapes and guides (sketch layer) | |
| Warm cream | #F2E3C6 |
3 | First outline, gills and spot circles (sketch layer) | |
| Bright red | #D2402E |
4 | Cap fill | |
| Creamy white | #F7F0E0 |
4 | Spots | |
| Light tan | #D9B98A |
4 | Underside fill | |
| Cream | #EFE5CF |
4 | Stem fill | |
| Dark brown | #3A1F10 |
4 | Final outline | |
| Mid brown | #7A5A3C |
4 | Gills | |
| Deeper red | #962720 |
5 | Cap shadow, right side | |
| Pale coral | #F08A70 |
5 | Cap highlight, upper left | |
| Darker tan | #A98659 |
5 | Underside shadow, right side | |
| Greyish tan | #BFAE8C |
5 | Stem shadow band and right side | |
| Near black | #070807 |
5 | Ground shadow, about 45% opacity |
Step 1: Draw a dome and a post

With a thin brush (width 2), draw a dome across the upper middle of the canvas: a half oval about three fifths of the canvas wide and a bit less than half as tall as it is wide, closed with a straight line along the bottom. Then, with the ellipse tool, draw a tall narrow oval under the middle of the dome for the stem, starting just below the flat base and reaching most of the way to the bottom of the canvas.
The common mistake here is making the stem too fat. A toadstool stem is only about a quarter as wide as its cap.
Step 2: Add the rim and a centreline
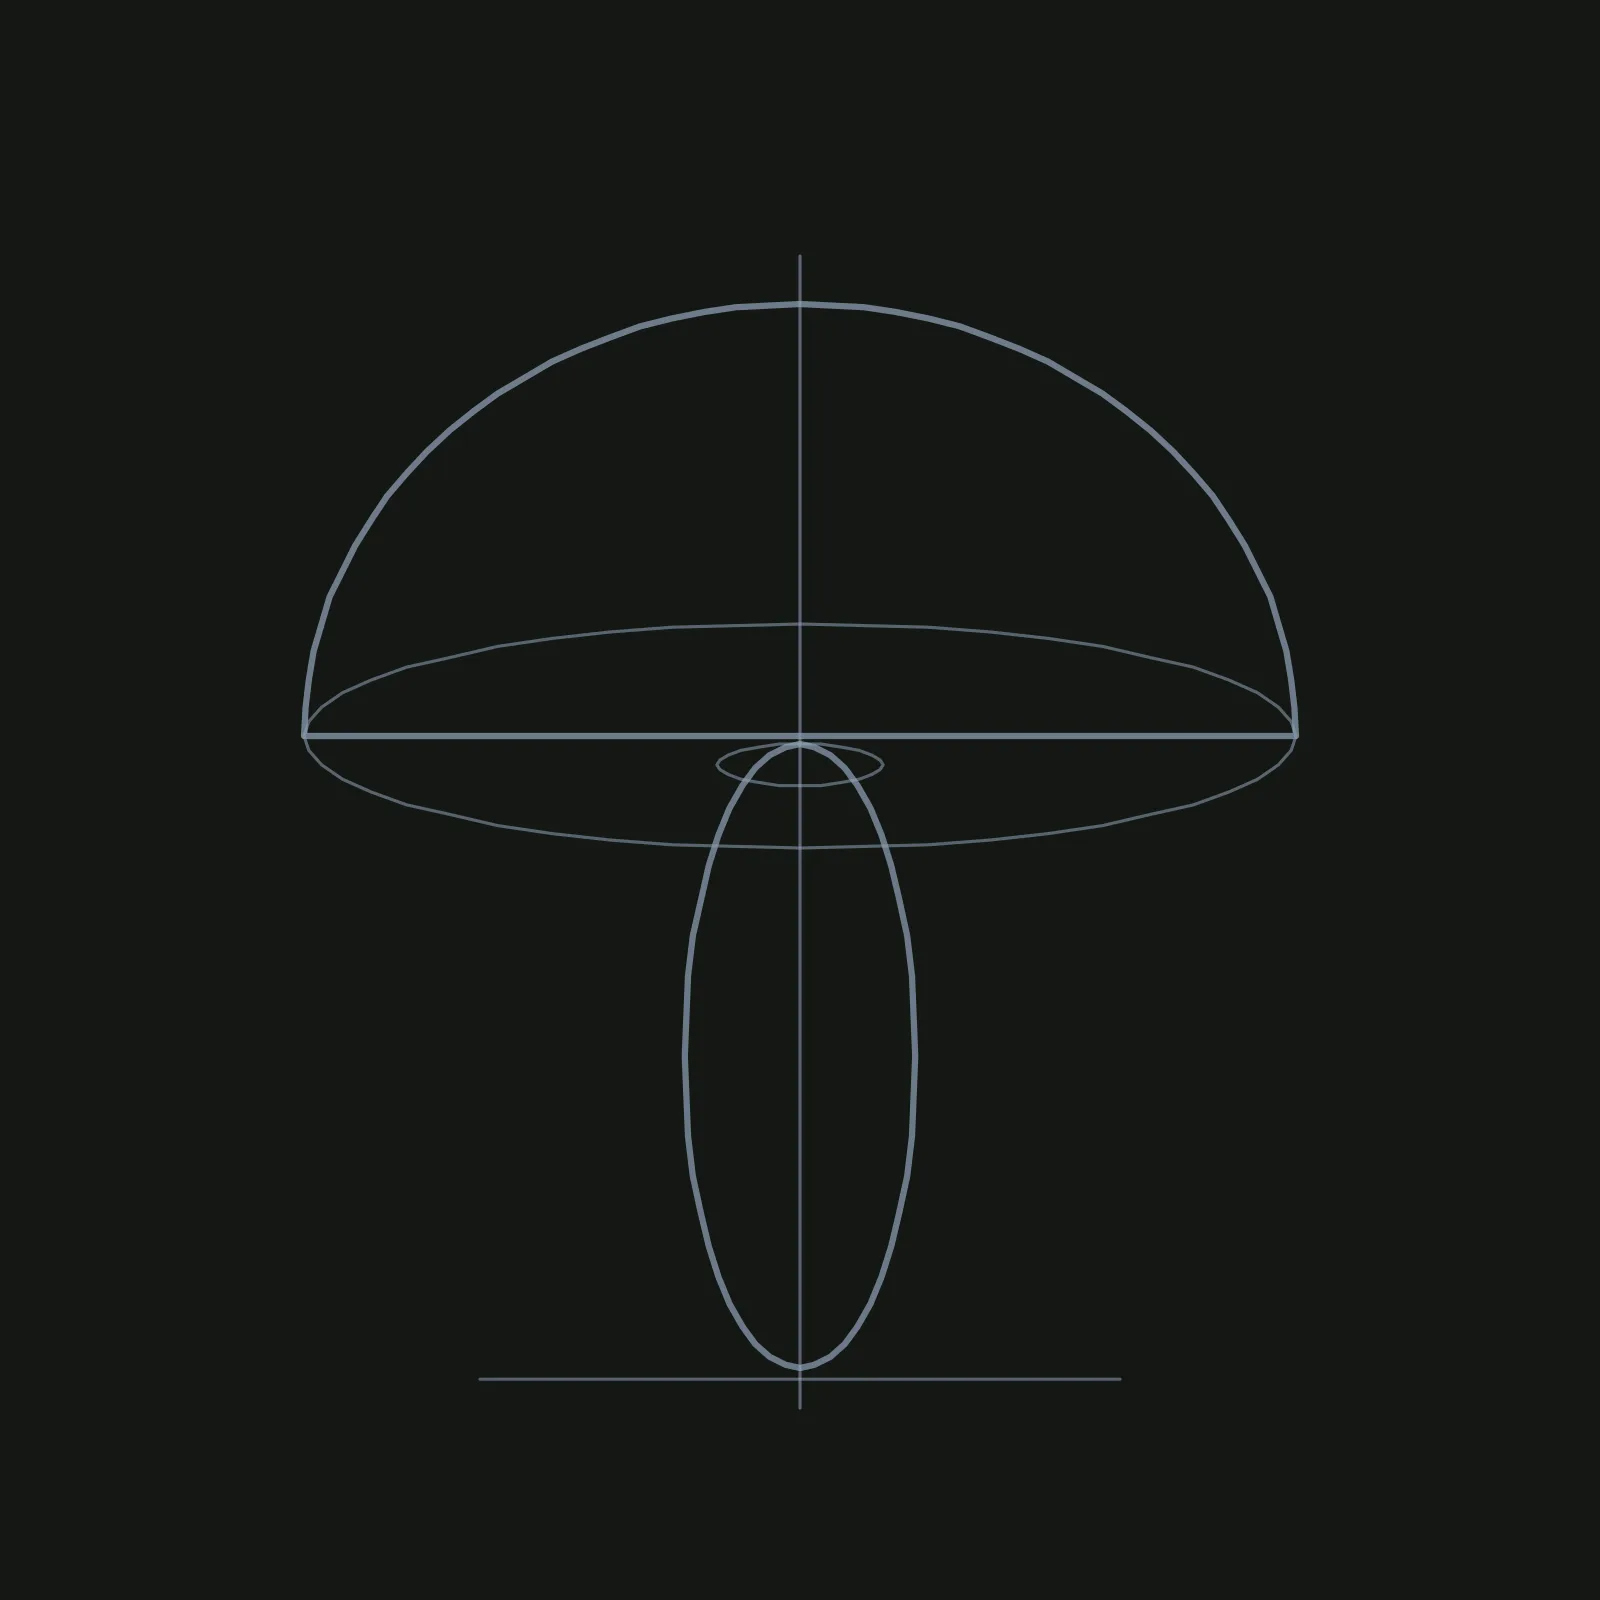
Switch to width 1. Draw a vertical line straight down through the middle of both shapes. Now, with the ellipse tool, draw a flat oval centred on the dome's base line, exactly as wide as the dome and only about a quarter as tall as it is wide. This is the rim of the cap. Add a tiny flat oval where the top of the stem meets the rim, and a short straight line across the bottom of the stem for the ground.
The mistake people make here is drawing the rim oval too tall. Keep it thin, or the mushroom will look like it is tipping toward you.
Step 3: Find the outline
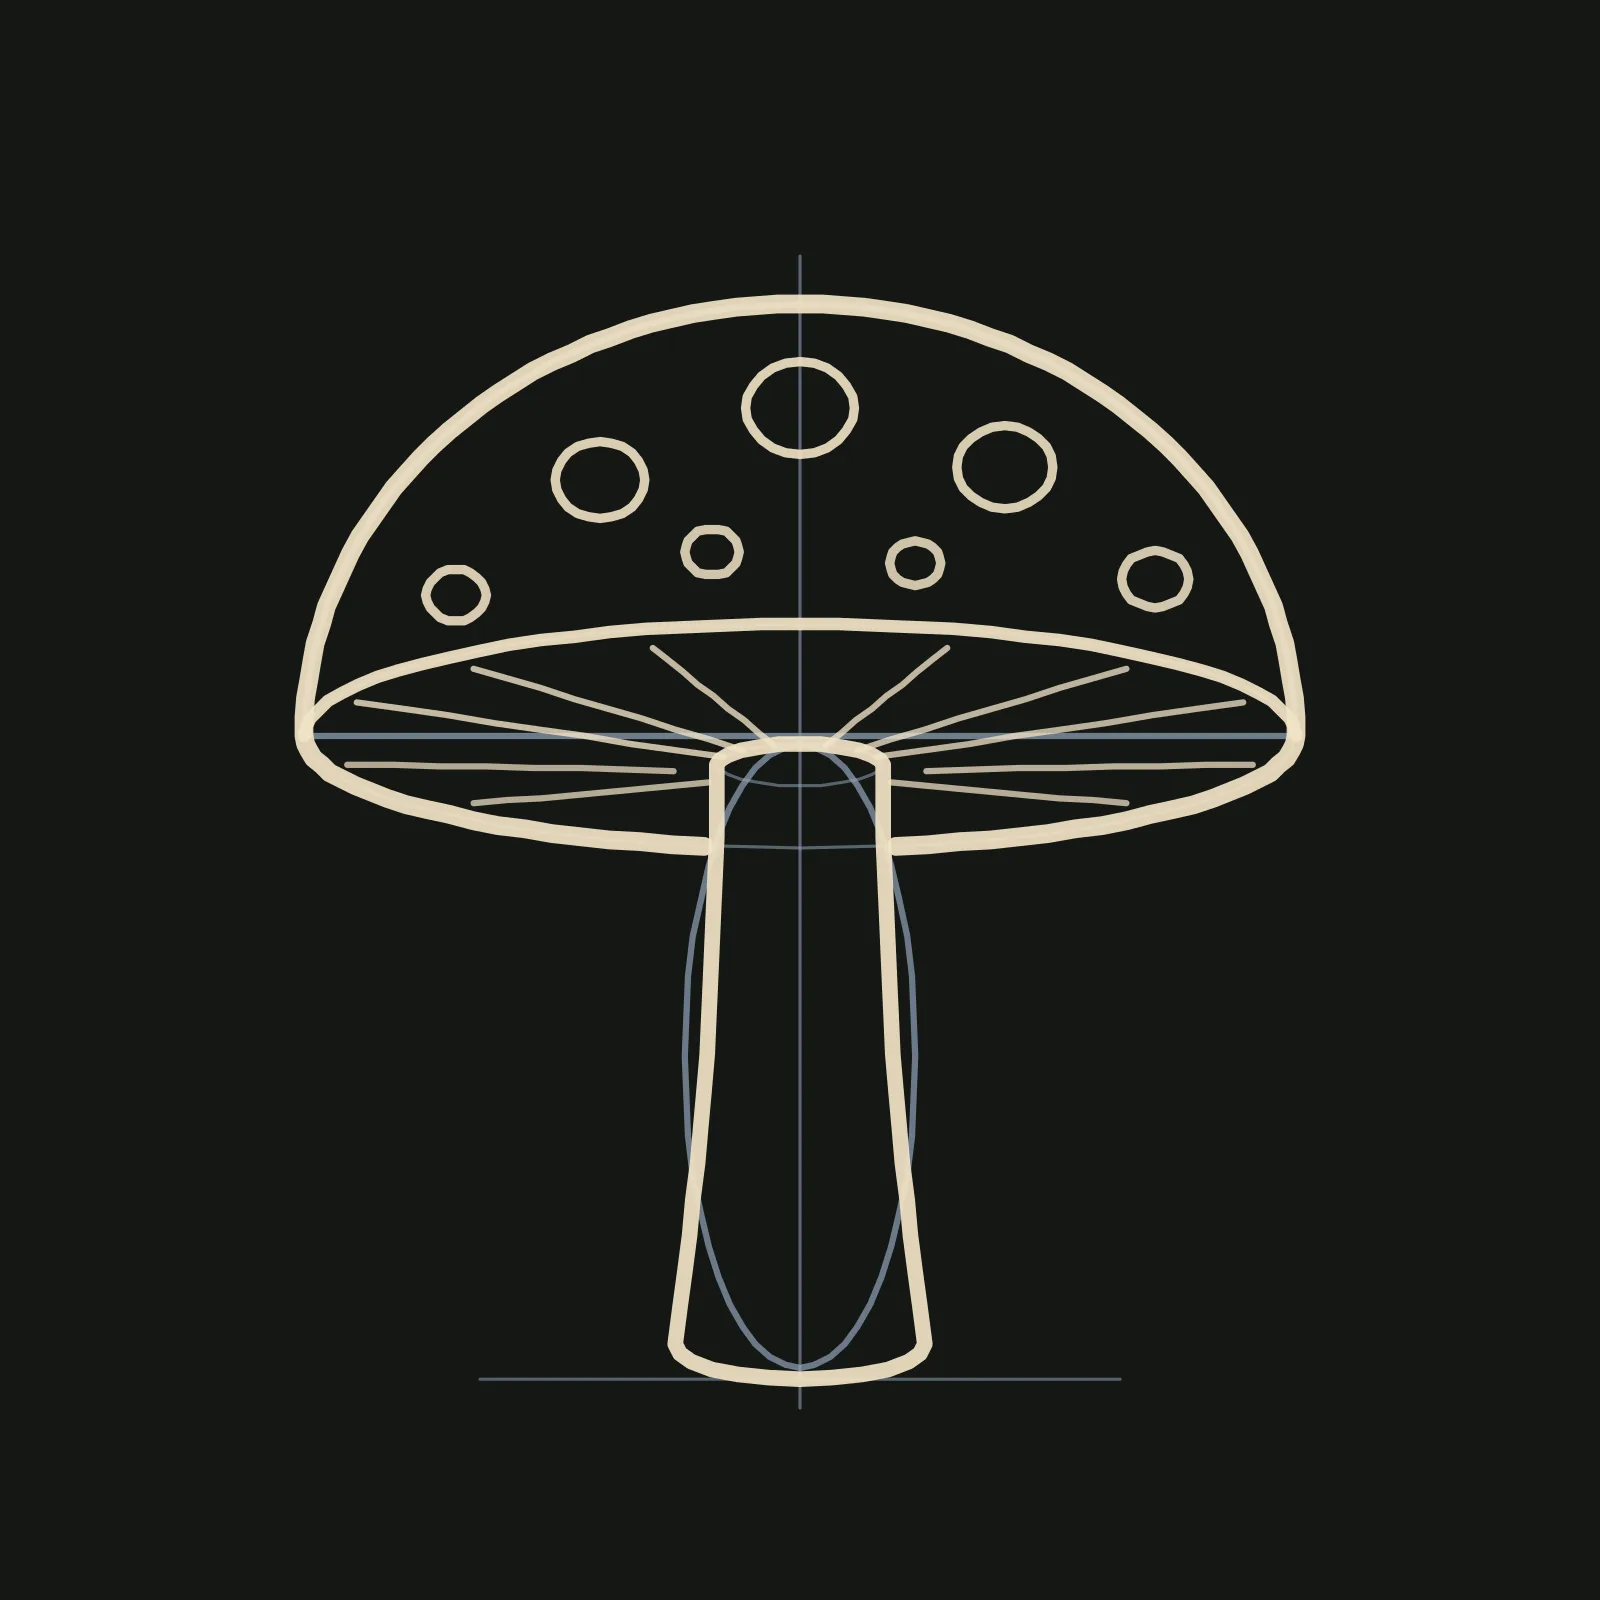
This is where it becomes a mushroom. With the brush in warm cream at width 6, trace over the dome and the bottom half of the rim oval in one long line, starting beside the stem and finishing on its other side. At width 4, trace the top half of the rim oval: that is the far edge of the cap. Draw the stem at width 5, a little narrower at the top and a little wider at the foot, with a rounded bottom. At width 2, draw about ten gill lines fanning out from the top of the stem to the rim, like the spokes of a wheel. Last, with the ellipse tool at width 3, add seven circles on the cap: big ones near the top, smaller ones toward the edges.
The one mistake to watch: stop the lower rim line and the gills where they meet the stem. The stem hangs in front of them.
Step 4: Add flat colour
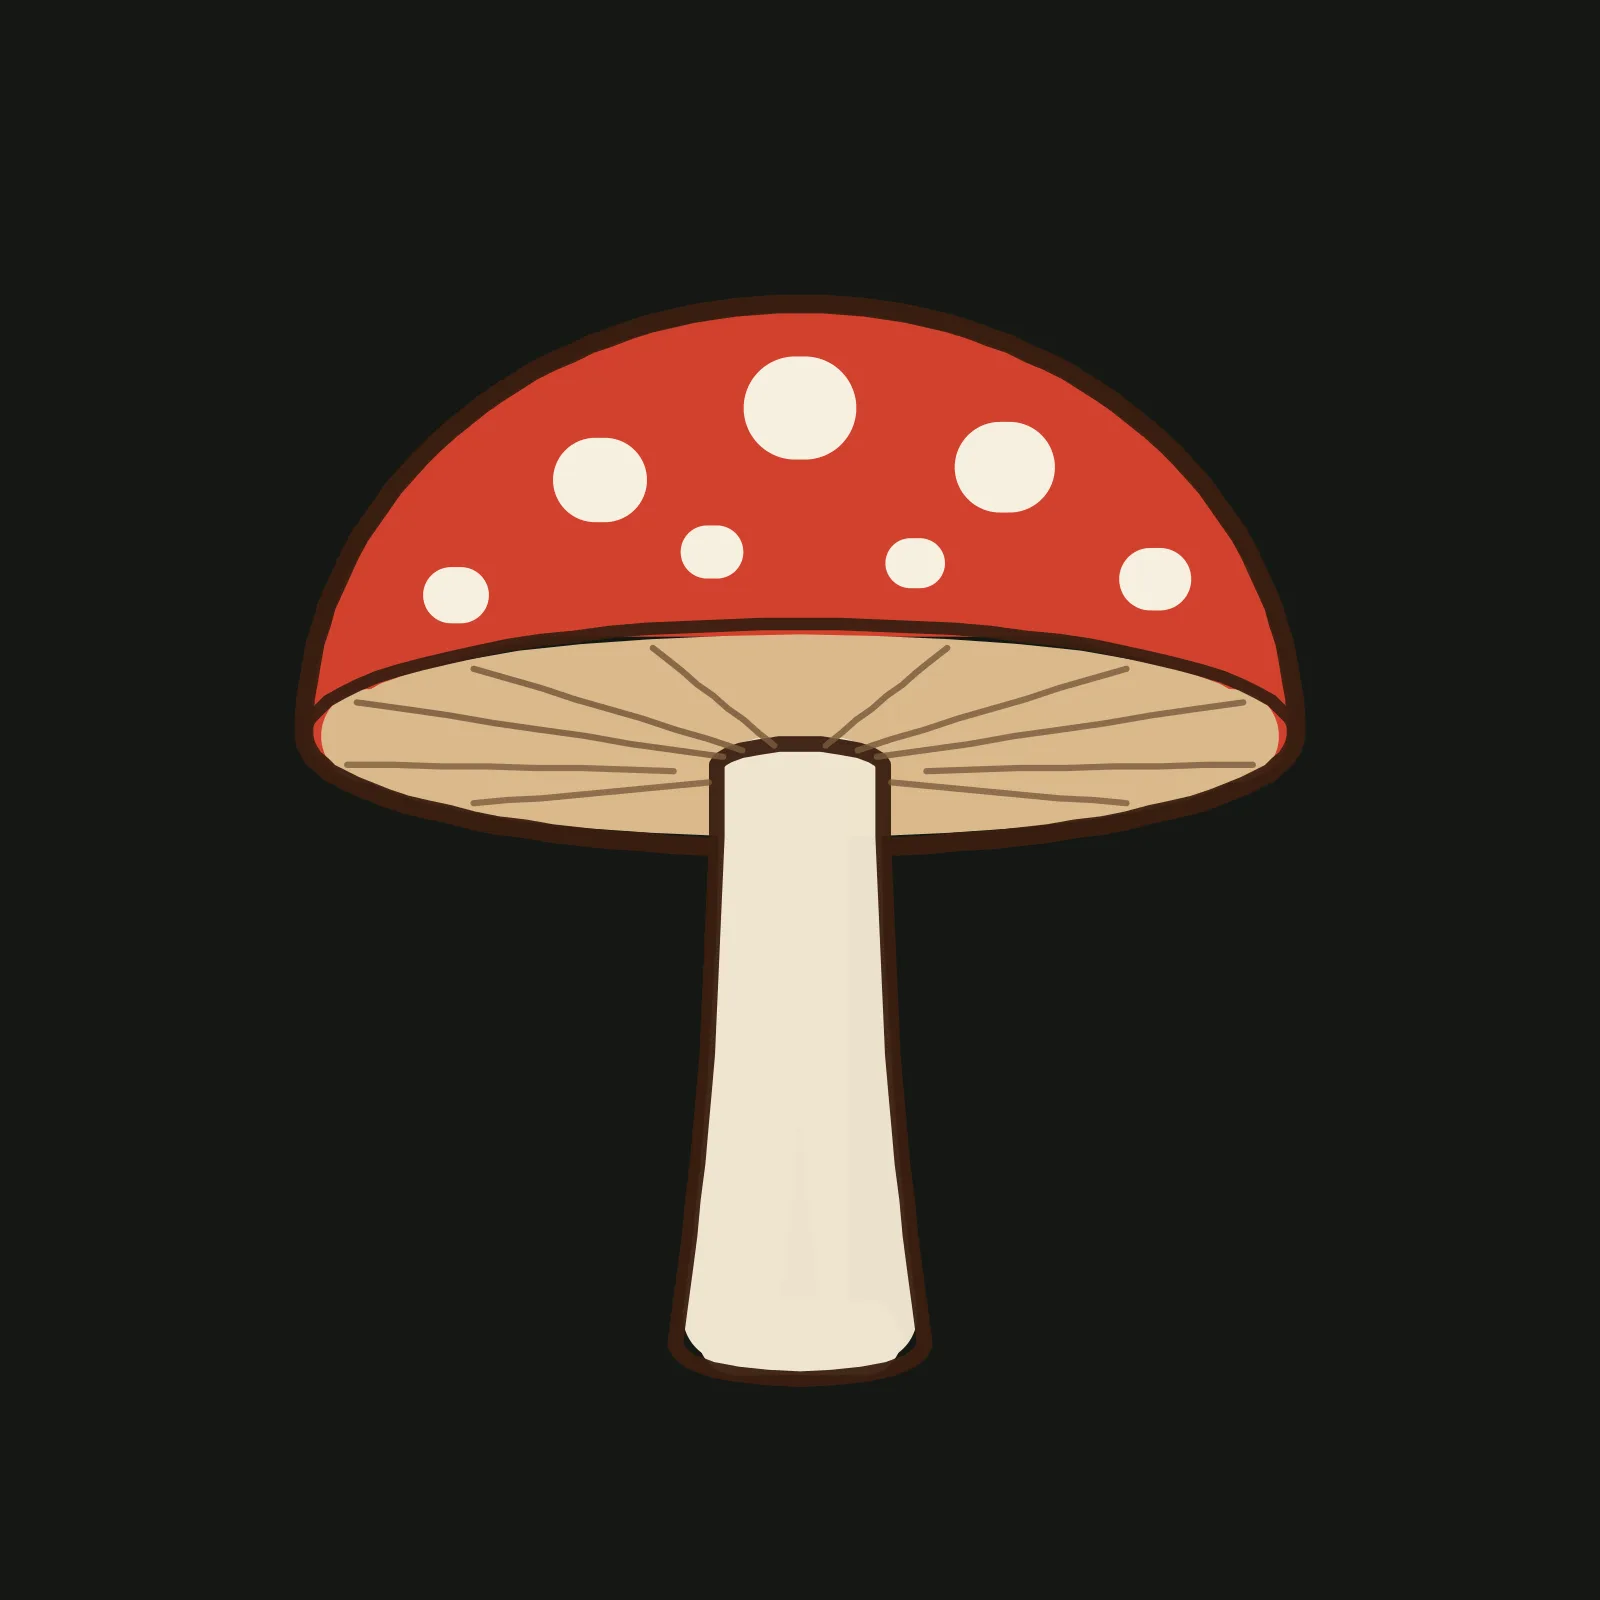
Open Layers and tap + Layer. The new layer sits above your sketch, and everything from here on goes on it. There is no fill bucket, so colour goes on like a marker. Run bright red at width 25 once around the inside of the cap, then scribble back and forth across the middle with a wide brush (40 or more). For each spot, tap one dot of creamy white with the brush width set to the spot's size. Fill the underside with light tan, one stroke around the inside of the rim and one across the middle, and the stem with three long cream strokes. Finally, redraw the outline in dark brown on top, and the gills in mid brown.
When the new lines are down, delete the sketch: in Layers, tap the delete button on Drawing 1, the bottom layer, and confirm. The pencil guides, the spot circles and the first cream outline go in one tap, and nothing on your new layer is touched. That is why the guides live on their own layer: the eraser would nick every line a guide crosses.
The mistake here is scribbling right out to the edge of the dome. A wide brush will spill over the outline at the shoulders, so keep your rows short near the top and let the first ring cover the edge.
Step 5: Add one shadow and one highlight
Pretend the light is coming from the upper left. With deeper red at width 22, draw one curved stroke just inside the right edge of the cap, following the dome from near the top down to the rim. Then take pale coral at width 12 and add one short curved stroke on the upper left of the cap. Draw your spots again on top of the shadow if it covered any. Put a short greyish tan band across the top of the stem, where the cap shades it, and a thin one down its right side. Last, under everything, draw one soft dark stroke beneath the stem so the mushroom stands on the ground.
The mistake is making the highlight too big. One small curve reads as shine; a big one reads as a second colour.
Draw it yourself
Now it is your turn. Open the editor on grovetracks.com and grow a toadstool of your own: a flatter cap, a taller stem, or a cluster of three. For a head start, open any step's gallery page above and branch it to pick up from exactly that stage. Every step shows its lineage back to the first dome, and the finished toadstool's Made from section walks the whole tutorial.
Trace the finished mushroom back to its roots, every step linked in one view: the mushroom's lineage.
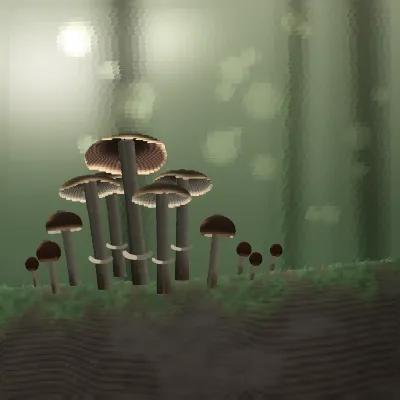
Here is where a mushroom can go next: a clump of honey fungus on a fallen log.
If you enjoyed this one, the same ring and scribble colouring works on How to Draw a Pumpkin, and How to Remix Digital Art Online explains how branching works.